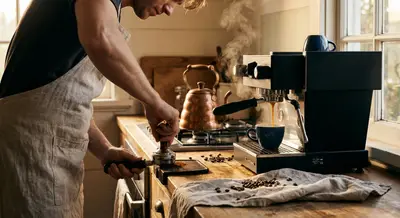
What if your kitchen could feel like your favorite corner café—complete with thick, syrupy shots, velvety milk, and that unmistakable aroma of freshly pulled espresso? You don’t need a commercial machine or a barista certification to get there. With the right beans, a bit of technique, and a feel for flavor, you can turn espresso from an occasional treat into a daily ritual that actually excites you to get out of bed.
This guide walks you through espresso as both a brewing method and a culture: how to choose beans, dial in shots, understand taste, and build a simple, smart setup that fits your life—not your Instagram feed.
Espresso as a Daily Ritual, Not Just a Drink
Espresso is more than a concentrated coffee; it’s a rhythm. In Italy, it’s a quick stand-up moment at the bar. In third‑wave cafés, it’s a tasting event with notes, scores, and discussions. At home, it can become your grounding ritual—something you tweak, refine, and share.
Treating espresso like a ritual changes how you brew. Instead of “Did this work?” you start asking “What changed?”—grind, dose, time, or water. Tiny adjustments become intentional, not random.
You’ll also begin to notice how espresso frames your day: a bright, high‑acidity single origin in the morning; a chocolate‑forward blend for milk drinks in the afternoon. Over time, you’ll develop preferences for roast level, origin, and even how long you let your shots rest before sipping.
Most importantly, espresso becomes an experience you can share—inviting friends to taste two different beans side by side, or teaching someone how to pull their first shot. That’s coffee culture alive in your own space.
Choosing the Right Beans for Espresso Character
Good espresso starts with good beans, but “espresso beans” on a bag doesn’t mean much by itself. Almost any coffee can be brewed as espresso; what matters is how well it suits your taste and your equipment.
Focus on these factors:
- Freshness window: Look for a roast date, not a “best by” date. Most espresso tastes best between about 5–7 days and 4–5 weeks after roast, depending on the bean and roast level. Too fresh, and shots can taste sharp or gassy; too old, and they’ll be flat and hollow.
- Roast level & flavor profile
- Light to medium roast (often single origin): brighter acidity, fruit, florals, more complexity. Fantastic for sipping straight but can taste “too sharp” in milk unless dialed in very well.
- Medium to medium‑dark (often blends): richer body, chocolate, caramel, nuts, lower perceived acidity. Very forgiving and great for lattes and cappuccinos.
- Dark roast: smoky, bitter, roasty flavors, reduced origin character. Can work if you love a classic, bold “Italian bar” style, but easy to over‑extract.
- Single origin vs. blend
- Single origin: beans from one region/farm; expressive and distinctive—think berry‑heavy Ethiopian or brown‑sugar Brazil. Great for learning how origin affects flavor.
- Blends: designed for balance and consistency, especially with milk. Roasters often combine a base (Brazil, Colombia) with higher‑note components (Ethiopia, Kenya) to hit chocolate, caramel, and subtle fruit together.
- Solubility and your gear: Lighter roasts often need finer grinding, higher pressure, and sometimes longer shots, which can be tricky on entry‑level machines. If your setup is modest, start with medium to medium‑dark roasts—they’re easier to dial in and more forgiving.
When you’re unsure, look for roaster flavor notes like “chocolate, almond, caramel” for milk drinks, and “citrus, berry, floral, stone fruit” for straight espresso. Use those descriptors as a loose compass, not a promise.
Essential Espresso Gear: What Actually Matters
You don’t need a café’s worth of gear, but a few key tools make the difference between unpredictable shots and consistent, satisfying espresso.
Core essentials
Espresso machine
- Aim for a machine with: - A proper brew pressure (around 8–10 bars at the puck, even if the pump is rated higher) - Consistent brew temperature - At least a pressurized or non‑pressurized portafilter (non‑pressurized is better for learning). - Entry‑level single‑boiler machines can still produce excellent shots if you’re patient and dial in carefully.
Burr grinder (espresso‑capable)
- This matters more than your machine. Espresso requires very fine, consistent grinding with precise adjustability. - Look for grinders marketed as “espresso capable” with stepless or very fine stepped adjustments. Blade grinders and “coarse only” burrs simply won’t work for real espresso.
Scale with timer
- A scale that can measure to 0.1 g lets you track dose (how much coffee goes in) and yield (how much liquid comes out). This is your roadmap for repeatable results.
Tamper & distribution tools
- A properly sized tamper (matching your basket diameter) helps you apply even, level pressure. - Optional but helpful: a simple distribution tool or even just a careful finger sweep to level the grounds before tamping.
Nice‑to‑have upgrades
- Bottomless (naked) portafilter: Lets you see channeling (uneven extraction) and improve your puck prep.
- WDT (Weiss Distribution Technique) tool: A fine‑needle tool to break up clumps and ensure even distribution.
- Milk pitcher & thermometer: For steaming milk with control and consistency.
- Water filtration or bottled water: Good water protects your machine and dramatically affects flavor; too hard causes scale, too soft can taste dull.
Think of equipment as a foundation for learning, not an end goal. A modest but thoughtfully chosen setup will outperform an expensive machine paired with an inconsistent grinder every time.
Step‑by‑Step: Pulling a Classic Espresso Shot
Here’s a straightforward, repeatable starting point you can adjust from. Consider this your “house recipe” you’ll refine over time.
1. Set your starting recipe
Use this as a baseline:
- Dose: 18 g of ground coffee (for a standard double basket)
- Yield: 36 g of espresso (a 1:2 ratio)
- Time: 25–30 seconds from first drip
You can tweak dose, ratio, and time later based on taste.
2. Prep the puck
- Purge the grinder with a quick short grind to clear stale coffee if it’s been sitting.
- Grind your dose directly into the portafilter. Aim for a fine, table‑salt like texture—but ultimately, “right” is whatever gets you in that 25–30 second window for your chosen ratio.
- Distribute the grounds evenly: a few gentle taps on the counter, or use a distribution tool/WDT to break up clumps and level the bed.
- Tamp firmly and level: One consistent, smooth press is enough. You’re aiming for an even, flat puck—not brute strength.
- Clean the rim of the basket to avoid grounds interfering with the seal.
3. Pull the shot
- Pre‑heat: Run a short blank shot (water through the group without coffee) to warm the group head and cup.
- Lock in the portafilter and start your timer as you begin the shot.
Watch for:
- First drips around 6–10 seconds - A gentle, even, honey‑like flow from the spouts or bottomless portafilter 4. Stop the shot when your scale reads 36 g (or your target yield).
4. Taste and adjust
- If the shot ran too fast (reaches 36 g in under ~23 seconds):
- Taste: sour, thin, underdeveloped, sharp.
- Fix: finer grind, or slightly higher dose.
- If the shot ran too slow (takes over ~32–35 seconds for 36 g):
- Taste: overly bitter, astringent, hollow, burnt/ashy.
- Fix: coarser grind, or slightly lower dose.
Change only one variable at a time—usually grind. Take quick notes: bean, dose, yield, time, and quick flavor impressions. Over a few sessions, this habit will dramatically accelerate your progress.
Understanding Espresso Tasting Notes Without Snobbery
Tasting notes can sound like poetry (“candied kumquat, jasmine, panela”), but their real purpose is to help you describe and compare what you experience in the cup.
Break it down into four simple lenses:
Acidity
- Think of acidity as liveliness, not sourness: lemon, green apple, berry brightness. - Light to medium roasts and high‑altitude origins (Ethiopia, Kenya, some Central Americans) often showcase more pronounced, pleasant acidity.
Sweetness
- Good espresso should have some sweetness: chocolate, caramel, honey, ripe fruit, brown sugar. - If your espresso is harsh with no sweetness, it’s likely under‑ or over‑extracted, or the roast is too dark/burnt.
Bitterness
- Some bitterness is normal and can be pleasant (like dark chocolate). - Excessive bitterness suggests over‑extraction, too hot water, or a very dark roast.
Body & texture
- Espresso should feel rich and syrupy, not watery. - Heavier body often comes from certain origins (Brazil, Sumatra) and roast levels (medium to darker). Good puck preparation and correct ratio also contribute.
A simple tasting exercise:
- Pull the same bean at a 1:2 ratio (18 g in / 36 g out).
- Sip one shot at 20–22 seconds (faster, slightly under‑extracted), one at 25–30 seconds (balanced), and one at 35+ seconds (over‑extracted).
- Notice how acidity, sweetness, and bitterness shift. You’ll feel extraction, not just read about it.
Once you can connect what you taste with how you brewed, dialing in becomes intuitive.
Steaming Milk & Building Classic Espresso Drinks
Milk changes everything. It softens acidity, enhances sweetness, and adds texture. When combined well with espresso, it can turn a good shot into a genuinely addictive drink.
Steaming milk basics
- Start with cold milk in a chilled pitcher; fill to just below the spout line.
- Whole milk produces the creamiest texture; oat and other barista‑style alternatives can foam well with some practice.
- Purge the steam wand briefly to clear condensation.
- Position the wand just below the milk’s surface, near the side of the pitcher, angled to create a whirlpool.
- Polish: Tap the pitcher on the counter and swirl to remove large bubbles and create a glossy, paint‑like texture.
Stretching phase (introducing air):
- For the first few seconds, keep the tip just at or slightly below the surface, listening for a gentle paper‑tearing sound. - You’re incorporating air to build microfoam.
Texturing phase:
- Submerge the wand slightly deeper and let the whirlpool integrate the foam into silky milk. - Aim for around 55–65°C (130–150°F); too hot and milk tastes flat and scalded.
Classic espresso drinks (ratios as a guide, not laws)
- Straight espresso:
- Typically 18 g in / 36 g out (double shot), sipped as is.
- Focus on origin character and balance.
- Macchiato:
- Double espresso “stained” with a spoon or small dollop of foam.
- Espresso remains the star; milk softens the edges.
- Cortado / Piccolo:
- Roughly equal parts espresso and warm milk (no heavy foam).
- Intense but rounded; a great way to taste the espresso character with a softer edge.
- Cappuccino:
- About 1/3 espresso, 1/3 steamed milk, 1/3 foam.
- Lighter, more airy; traditional cappuccinos are smaller than many café versions (often 150–180 ml total).
- Latte:
- 1–2 shots of espresso with more steamed milk and a thin foam layer.
- Milk‑forward, ideal for flavored syrups or those who prefer a softer coffee presence.
Experiment with different beans in the same drink style. A chocolate‑nutty Brazil‑based blend will make a comforting, dessert‑like latte, while an Ethiopia with berry notes might create something more fruit‑forward and surprising.
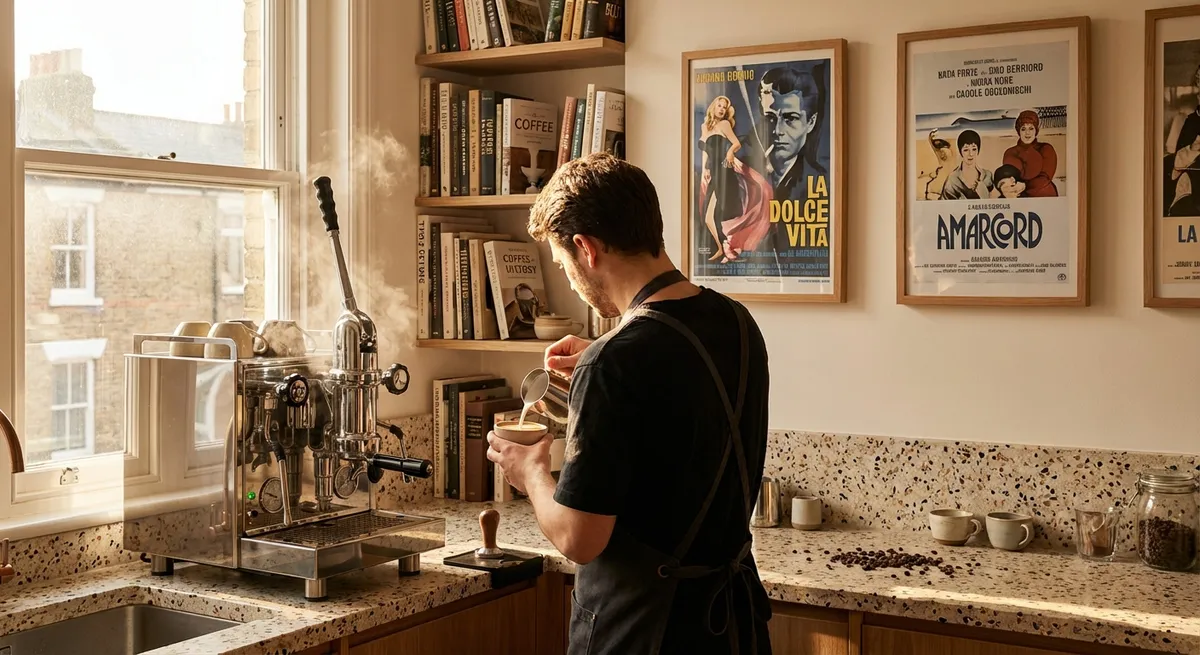
Espresso Culture at Home: Hosting, Sharing, and Experimenting
Espresso culture thrives on curiosity and conversation. You can build your own version of that café energy right at home.
Here are a few ways:
- Host tasting sessions: Pick two beans (say, a Brazil blend and an Ethiopian single origin) and pull the same recipe for each. Taste side by side and talk about differences in sweetness, acidity, and body.
- Create your own “house blend”: Mix two beans in different ratios—maybe 70% chocolatey Brazil with 30% bright Ethiopia—and track how it behaves both straight and in milk.
- Keep a simple espresso journal: Note bean, roast date, dose, ratio, time, and quick taste impressions. Revisit your favorites and refine recipes over time.
- Play with water and temperature (if your machine allows): Slight temperature changes can highlight or tame acidity, sweetness, and bitterness; different water compositions can subtly change clarity and mouthfeel.
- Use social media as a learning loop: Share your recipes, ask others what they’re pulling with the same beans, and learn from home baristas around the world. The espresso community is full of people eager to discuss exactly the kind of details you’re experimenting with.
By treating your home espresso setup as both a lab and a living room, you’re not just making coffee—you’re building your own micro‑culture of flavor, ritual, and connection.
Conclusion
Living the espresso life at home isn’t about recreating a café down to the last tile; it’s about understanding enough of the craft to shape it around your preferences and routines. With thoughtfully chosen beans, a capable grinder and machine, and a willingness to taste and adjust, you can pull shots that are not only better than most café drinks, but also deeply personal.
Start simple: one bean, one recipe, small adjustments. Pay attention to what you taste. Over time, your morning shot will tell a story—of origin, roast, technique, and the quiet, satisfying skill you’ve built in your own kitchen.
Sources
- [Specialty Coffee Association – Introduction to Espresso Brewing](https://sca.coffee/education) - Offers foundational guidelines on espresso brewing standards, extraction, and barista skills curricula
- [Barista Institute by Paulig – Espresso and Espresso Based Drinks](https://www.baristainstitute.com/espresso) - Practical explanations of espresso styles, recipes, and milk‑based drinks with visual guides
- [European Coffee Trip – Espresso Guides & Tutorials](https://europeancoffeetrip.com/tag/espresso/) - Articles and videos on dialing in espresso, equipment, and home barista techniques
- [Whole Latte Love – Learn Section](https://www.wholelattelove.com/pages/learn) - Detailed how‑tos on espresso machines, grinders, tamping, milk steaming, and maintenance
- [U.S. Department of Agriculture – Coffee: World Markets and Trade](https://www.fas.usda.gov/data/coffee-world-markets-and-trade) - Background on global coffee production and origins that influence the beans used in espresso blends
Key Takeaway
The most important thing to remember from this article is that this information can change how you think about Espresso Guides.