Coffee isn’t just a drink—it’s a daily ritual, a craft, and for many of us, a small moment of peace in a loud world. At RoastEden, we believe how you brew is just as important as what you brew. The same beans can taste bright and citrusy in a pour-over, syrupy and bold in an espresso, or comforting and chocolatey in a French press.
This guide walks you through core brewing methods, how to choose beans for each, and step-by-step techniques to get the most flavor out of every cup.
Understanding Coffee Culture Through Brewing Methods
Brewing methods are more than different tools; they’re expressions of coffee culture and philosophy.
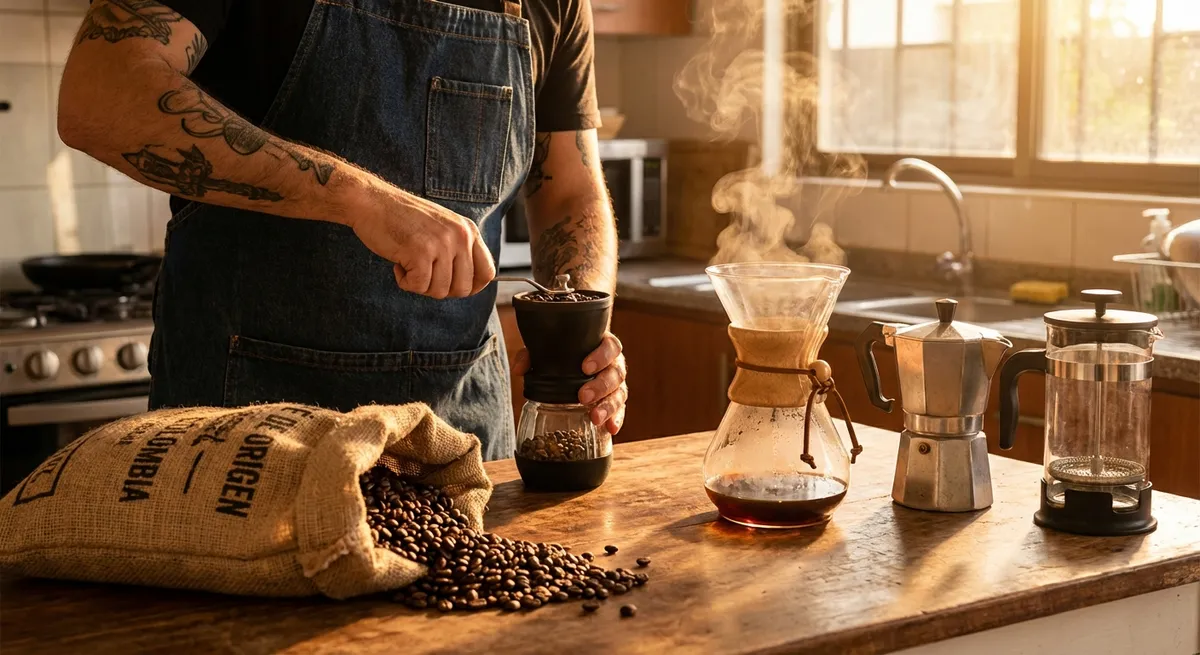
In Italy, the tiny, intense espresso reflects a fast-paced, bar-side ritual—stand, sip, move on. In Japan and parts of Scandinavia, graceful pour-over and meticulous hand-brewing represent a slower, almost meditative approach. In many homes worldwide, the reliable drip machine or moka pot is about comfort, routine, and family tradition.
Each method:
- Emphasizes different flavor notes in the same bean
- Encourages a particular grind size, brew time, and water temperature
- Fits different lifestyles—on-the-go, slow mornings, or entertaining guests
- Reflects what a culture values most: speed, clarity, richness, or simplicity
As you explore methods, think less in terms of “better or worse” and more in terms of “what mood am I brewing for today?” That mindset is at the heart of modern coffee culture—and very much the spirit of RoastEden.
Bean Selection 101: Matching Beans to Brew Methods
Before you pick the brewer, pick the right beans. Any bean can technically work in any device, but some pairings shine more than others.
Roast Level
- Light roast
- Best for: pour-over, AeroPress, siphon, filter coffee
- Flavor: bright acidity, floral, fruity, tea-like
- Why: gentle methods highlight delicate aromatics and origin character.
- Medium roast
- Best for: drip, pour-over, AeroPress, some espresso
- Flavor: balanced sweetness and acidity, caramel, nuts, chocolate
- Why: a versatile “sweet spot” for both clarity and body.
- Dark roast
- Best for: espresso, moka pot, French press (if you like bold cups)
- Flavor: smoky, dark chocolate, roast-forward, lower acidity
- Why: stands up well in concentrated, rich brews and with milk.
Origin & Flavor Profiles (General Guide)
- Ethiopia (esp. washed) – floral, citrus, bergamot, stone fruit; great for pour-over.
- Colombia – balanced, often chocolate + red fruit; very versatile.
- Brazil – nutty, chocolatey, low acidity; wonderful for espresso and milk drinks.
- Kenya – bright, winey acidity, blackcurrant; shines in filter methods.
- Sumatra & other Indonesians – earthy, herbal, heavy body; nice in French press.
Freshness & Grind
- Look for roasted-on dates, not just “best before.”
- Use beans within 2–4 weeks of roast for peak flavor (properly stored).
- Grind just before brewing; pre-ground coffee stales much faster.
If you’re unsure, a medium-roast Colombian or Brazilian blend is a forgiving starting point that works well across most methods.
Pour-Over: Clean, Bright, and Meditative
Pour-over (e.g., Hario V60, Kalita Wave, Chemex) is beloved for clarity and nuanced flavor. It’s ideal for tasting what a bean really has to offer.
Recommended Gear
- Pour-over dripper (V60, Kalita, or similar)
- Paper filters designed for your dripper
- Burr grinder
- Gooseneck kettle (for better control)
- Digital scale and timer
- Fresh medium or light roast beans
Grind, Ratio, and Water
- Grind size: medium-fine (like table salt; V60 often slightly finer than drip)
- Brew ratio: ~1:15–1:17 (e.g., 20 g coffee to 300–340 g water)
- Water temperature: 92–96°C (197–205°F)
Step-by-Step Pour-Over Guide (V60 Style)
Prep the filter and dripper
- Place the filter in the dripper. - Rinse thoroughly with hot water to remove paper taste and preheat. - Discard rinse water.
Weigh and grind
- Use 20 g of coffee (adjust to your taste). - Grind medium-fine and add to the dripper. - Gently shake to level the bed.
Bloom (0:00–0:45)
- Start your timer. - Pour about 2–2.5x the coffee weight in water (40–50 g for 20 g of coffee). - Let the coffee bloom for 30–45 seconds; this releases trapped CO₂.
Main pour (0:45–2:15)
- Pour in slow circles, avoiding the filter walls. - Aim for gentle, steady pouring, adding water in stages or a continuous pour. - Target total water of 300–340 g by around 2:00–2:15.
Drawdown (2:15–3:30)
- Allow water to drip through; total brew time should be ~2:30–3:30. - If it’s too fast: grind finer next time. If too slow: grind coarser.
Tasting Notes: What to Look For
- Aroma: smell immediately—floral, fruity, nutty, or chocolatey?
- Acidity: is it bright like citrus, soft like stone fruit, or muted?
- Body: light and tea-like, or round and syrupy?
- Finish: lingering sweetness, cocoa, or a clean, quick exit?
Pour-over is perfect if you enjoy exploring single origins and subtle differences between roasts.
French Press: Rich, Rustic, and Comforting
French press is full-bodied, forgiving, and great for making multiple cups at once. The metal filter allows oils and fine particles through, giving you a heavier, more robust cup.
Recommended Gear
- French press (also called a press pot or cafetière)
- Burr grinder
- Kettle
- Scale and timer (optional, but helpful)
Grind, Ratio, and Water
- Grind size: coarse, like sea salt or breadcrumbs
- Brew ratio: ~1:14–1:16 (e.g., 30 g coffee to 450–500 g water)
- Water temperature: 93–96°C (200–205°F)
Step-by-Step French Press Guide
Preheat the press
- Rinse with hot water to warm the glass and help temperature stability. - Discard rinse water.
Add coffee
- Place 30 g coarse-ground coffee into the empty press.
Add hot water (0:00–0:30)
- Start your timer. - Pour 450–500 g of hot water evenly over the grounds. - Stir gently to saturate all grounds.
Steep (0:30–4:00)
- Place the lid on top (plunger pulled all the way up). - Let it steep for around 4 minutes (3–5 based on your taste).
Break crust and skim (optional but recommended)
- At 4:00, remove the lid. - Stir once gently to break the crust of grounds on top. - Use a spoon to skim off floating grounds and foam; this reduces sludge.
Press and serve
- Put the lid back on and press slowly and steadily. - Pour immediately to avoid over-extraction and bitterness.
Tasting Notes: What to Expect
- Body: thick, creamy, and round.
- Flavor: bold, chocolatey, nutty, or earthy notes shine.
- Acidity: usually softer and less pronounced than pour-over.
French press is especially good for medium to dark roasts, cozy morning mugs, and pairing with breakfast or dessert.
Espresso at Home: Concentrated, Complex, and Rewarding
Espresso is a small drink with a big personality: intense, layered, and the base for cappuccinos, lattes, and americanos. It’s more demanding in terms of gear and technique, but very rewarding.
Recommended Gear
- Espresso machine with a proper pump and portafilter
- Burr grinder capable of fine, espresso-level adjustments
- Tamper that fits your portafilter
- Scale and shot glass (or demitasse)
- Fresh espresso-suited beans (often medium to dark roast)
Grind, Ratio, and Water
- Grind size: fine (like table salt to slightly finer; very sensitive to change)
- Dose: commonly 18–20 g for a double shot (varies by basket size)
- Yield: about 1:2 ratio (e.g., 18 g in → 36 g out)
- Time: ~25–30 seconds from pump on to final volume
- Water temperature: ~90–96°C, depending on machine and beans
Step-by-Step Espresso Guide (Double Shot)
Preheat machine and portafilter
- Allow the machine to fully heat up. - Run a blank shot of hot water to warm the group head and portafilter.
Grind and dose
- Grind 18–20 g of coffee directly into the portafilter basket. - Distribute evenly by tapping or using a distribution tool.
Tamp
- Hold the portafilter on a stable surface. - Tamp firmly and evenly with moderate pressure; the goal is a level, compact puck.
Lock in and brew
- Insert the portafilter into the group head and lock it in. - Start the shot and your timer simultaneously. - Aim for ~36–40 g of espresso in 25–30 seconds.
Dialing in
- If the shot is too sour and thin: grind finer or increase dose. - If it’s too bitter and slow: grind coarser or decrease dose.
Tasting Notes: Reading Your Shot
- Crema: a caramel-colored foam on top—thicker is not always “better,” but it indicates freshness and technique.
- Flavor balance: a good shot is a balance of sweetness, acidity, and pleasant bitterness.
- Texture: should feel syrupy and dense, not watery or hollow.
Espresso is an ongoing conversation between your beans, grinder, and machine. Adjust one variable at a time and keep notes—you’ll improve quickly.
Moka Pot & AeroPress: Compact Brewers with Big Personality
For many home coffee lovers, moka pots and AeroPress sit in a sweet spot: more character than drip, less complexity than full espresso.
Moka Pot: The Stovetop Classic
Moka pots, like the iconic Bialetti, brew coffee by passing pressurized steam through grounds. The result is strong, espresso-style coffee—perfect for small cups or adding milk.
Gear & Basics
- Moka pot (size of your choice)
- Medium-fine ground coffee (finer than drip, coarser than espresso)
- Kettle
- Fresh medium to dark roast beans
Quick Guide
- Fill the lower chamber with hot water up to the safety valve.
- Fill the filter basket level with coffee; don’t tamp, just gently level.
- Assemble the pot carefully.
- Place over medium-low heat, lid open.
- When coffee starts to flow and becomes pale/blond, remove from heat.
- Stir the top chamber gently and serve immediately.
Tasting-wise, expect something stronger, slightly more bitter, and more concentrated than drip, with good pairing possibilities for milk or sugar.
AeroPress: Versatile and Travel-Friendly
The AeroPress is beloved for its versatility: it can mimic espresso-like concentrate, classic filter coffee, or even cold brew.
Gear & Basics
- AeroPress and paper or metal filters
- Burr grinder
- Kettle
- Scale and timer (optional, but helpful)
Standard Method (Filter-Style Cup)
- Grind: medium-fine
- Ratio: ~1:14–1:16 (e.g., 14 g coffee to 200–225 g water)
- Time: around 2 minutes
- Place a rinsed filter in the cap and attach it to the AeroPress.
- Set AeroPress on your mug and add coffee.
- Start timer; add hot water (about 92–96°C) up to the top mark.
- Stir 10–15 seconds, insert plunger, and gently press over 20–30 seconds.
Inverted Method (Richer Body)
- Assemble AeroPress upside down (plunger at bottom, chamber on top).
- Add coffee and water, stir, and steep ~1–2 minutes.
- Attach filter cap, flip quickly onto a mug, and press.
The AeroPress is a playground for experimentation, making it perfect for curious brewers and travel.
Equipment Recommendations: Building a Coffee Setup That Fits You
You don’t need a café’s worth of gear to make excellent coffee at home. Start with the fundamentals, then upgrade as your curiosity grows.
Core Essentials
- Burr grinder
- Non-negotiable if you care about flavor consistency.
- Manual burr grinders (e.g., Hario, Timemore) are affordable and great for pour-over and French press.
- Electric burr grinders are more convenient, especially for espresso.
- Scale
- Even an inexpensive digital kitchen scale improves consistency dramatically.
- Lets you repeat recipes and fine-tune your taste preferences.
- Kettle
- Any kettle works, but a gooseneck kettle gives precise control for pour-over.
- Electric models with temperature control are a luxury that quickly feels essential.
Recommended Starter Setups by Style
- Filter-focused (clarity lovers)
- Pour-over dripper (V60/Kalita/Chemex)
- Manual or small electric burr grinder
- Gooseneck kettle
- Light–medium roast single origins
- Comfort-first (rich, easygoing cups)
- French press or drip machine with a metal or paper filter
- Burr grinder
- Medium–dark roasts, blends or chocolaty single origins
- Espresso enthusiasts
- Entry-level espresso machine with a proper pump
- Espresso-capable burr grinder
- Tamper, milk pitcher, and a few sturdy demitasse cups
- Medium–dark espresso blends
- Small space / travel
- AeroPress or small moka pot
- Compact manual burr grinder
- Collapsible kettle or access to hot water
Choose your setup based on how you like to drink coffee—not how you think you “should” drink it.
Conclusion
Every brewing method is a different lens on the same bean. Pour-over reveals delicate nuance, French press wraps you in richness, espresso delivers concentrated drama, and tools like moka pots and AeroPress give you portable personality.
Start with one method, dial in your grind and ratio, and pay attention to what you taste—acidity, sweetness, body, and finish. Those details will guide your next tweak, your next bean choice, and eventually, your own signature way of brewing.
At RoastEden, our philosophy is simple: there is no single “right” cup, only the cup that makes your day better. Experiment, take notes, and enjoy the journey from bean to brew—one method at a time.
Sources
- [National Coffee Association (NCA) – How to Brew Coffee](https://www.ncausa.org/About-Coffee/How-to-Brew-Coffee) – Practical guidance on grind size, water quality, and basic brewing ratios across multiple methods.
- [Specialty Coffee Association (SCA) – Brewing Fundamentals](https://sca.coffee/research/protocols-best-practices) – Industry-standard protocols and best practices for brewing, including water temperature and extraction principles.
- [Harvard T.H. Chan School of Public Health – Coffee](https://www.hsph.harvard.edu/nutritionsource/food-features/coffee/) – Evidence-based overview of coffee’s health aspects and general preparation considerations.
- [Hario – V60 Brewing Guide](https://www.hario-usa.com/pages/brew-guides) – Manufacturer brew guides and suggested techniques for pour-over using the V60 dripper.
- [Bialetti – Moka Pot Brewing Instructions](https://us.bialetti.com/pages/how-to-use) – Official instructions and tips for using a classic moka pot correctly and safely.
Key Takeaway
The most important thing to remember from this article is that this information can change how you think about Brewing Methods.