Coffee at home doesn’t have to be a consolation prize for skipping the café—it can be better. With the right gear, a bit of curiosity, and a basic understanding of beans and brewing, your kitchen can become your favorite coffee bar.
This guide walks you through essential coffee gear, how to choose beans with confidence, step‑by‑step brewing techniques, and how to taste your coffee like a pro—all in a way that’s approachable, practical, and worthy of sharing.
Understanding the Gear: What You Really Need (and What You Don’t)
Coffee gear doesn’t have to be overwhelming. Think of it in four categories: grinding, brewing, water, and measuring. Start simple, then upgrade where it matters most.
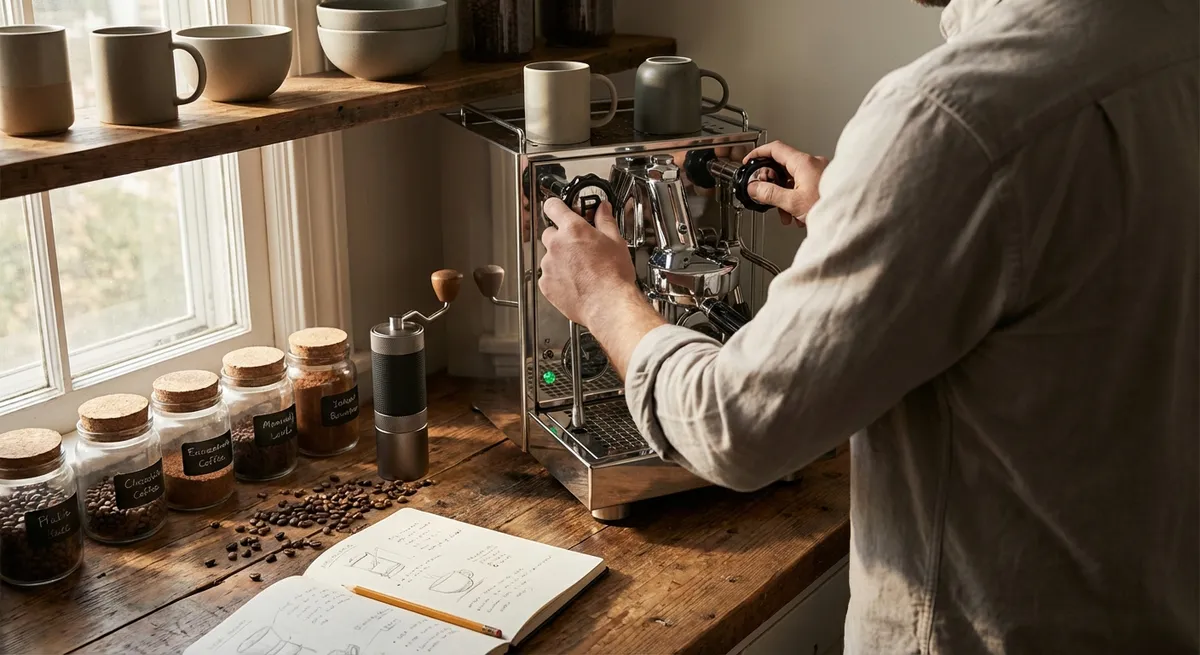
1. The Grinder (Your Most Important Purchase)
If you’re going to splurge anywhere, do it here.
- Blade grinder vs. burr grinder
- Blade grinders chop beans unevenly, creating dust (over-extracted, bitter) and boulders (under-extracted, sour) in the same cup.
- Burr grinders crush beans between two burrs for a more uniform particle size and better flavor control.
- Manual vs. electric
- Manual burr grinders: Affordable, portable, great for 1–2 cups at a time. Ideal for pour-over, AeroPress, French press.
- Electric burr grinders: Faster, easier for daily use, better for espresso because you can dial in with more precision.
- Practical picks (by use-case)
- Budget manual: Timemore C2 or 1Zpresso JX-Pro (for versatile brewing)
- Entry electric: Baratza Encore (drip, pour-over, French press)
- Espresso-focused: Baratza Sette series or Eureka Mignon (for consistent, fine grinding)
2. Brewers: Match the Gear to Your Personality
Different brewers emphasize different aspects of your coffee. There’s no “best,” just what fits your taste and routine.
- Pour-over (Hario V60, Kalita Wave, Origami, Chemex)
- Clean, bright, often more delicate or fruity.
- Great if you enjoy ritual and tweaking variables like pour speed and water temperature.
- French press
- Full-bodied, rich, more oils and fine particles in the cup.
- Ideal for those who like heavier mouthfeel and minimal fuss.
- AeroPress
- Versatile, quick, travel-friendly.
- Can mimic espresso-like intensity or a smooth filter-style brew depending on recipe.
- Drip coffee maker
- Convenient, consistent if you buy a good one.
- Look for brewers certified by the Specialty Coffee Association (SCA) for proper temperature and extraction.
- Espresso machine
- For milk drinks (lattes, cappuccinos) and espresso shots at home.
- Prioritize temperature stability and a proper pump over gimmicks; expect a learning curve.
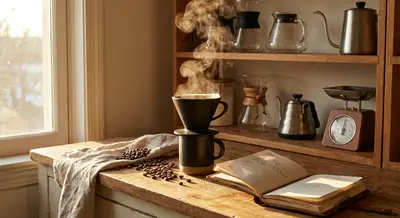
3. Water & Kettle: The Invisible Gear
Coffee is mostly water—bad water equals bad coffee, no matter how good the beans.
- Kettle
- Electric gooseneck kettle gives you temp control (90–96°C / 195–205°F) and precision pouring—essential for pour-over.
- A regular kettle works, but you’ll have less control.
- Water quality
- Avoid heavily chlorinated tap water if possible.
- Filtered or spring water typically works well.
- For serious consistency, consider coffee-specific mineral packets or recipes (e.g., “Third Wave Water”).
4. Scales & Timers: Your Consistency Superpower
- A simple digital scale (0.1 g resolution) lets you measure coffee and water precisely.
- Timing your brew reveals patterns—suddenly “good” cups become repeatable instead of luck.
Choosing Beans: From Origin to Roast Level
Good gear can’t fix bad beans. Knowing how to choose coffee that fits your taste is a game changer.
1. Understanding Origin and Flavor
Different growing regions tend to have different profiles (though there are always exceptions):
- Ethiopia: Often floral, tea-like, with berry or citrus notes. Great for filter brewing.
- Kenya: Bright, juicy acidity—think blackcurrant, grapefruit, tomato-like sweetness.
- Brazil: Nutty, chocolatey, lower acidity—fantastic for espresso and milk drinks.
- Colombia: Balanced, sweet, versatile—good “all-rounder” beans.
- Central America (Guatemala, Costa Rica, Honduras, etc.): Caramel, nuts, baking spices, gentle fruit notes.
2. Roast Level & What It Means in the Cup
- Light roast
- Brighter acidity, clearer origin character (fruit, florals, complex sweetness).
- Great for pour-over, AeroPress, filter. Might taste “sour” if you’re used to darker roasts at first.
- Medium roast
- Balanced acidity and sweetness; caramel, chocolate, and fruit can coexist.
- Extremely versatile—works well for most brewing methods, including espresso.
- Dark roast
- Dominated by roast flavors: smoke, dark chocolate, bitter caramel.
- Less origin character, more intensity; often used for traditional espresso and strong drip.
3. Freshness & Roast Date
- Look for a roast date, not just a “best by” date.
- Most specialty roasters peak between 4 days and 4 weeks after roasting.
- For espresso, many prefer beans 7–21 days off roast to allow CO₂ to degas.
4. Whole Bean vs. Pre-ground
- Whole bean + your own grinder = much better flavor and aroma.
- If you must use pre-ground, store airtight, away from light, heat, and moisture, and buy in smaller amounts more frequently.
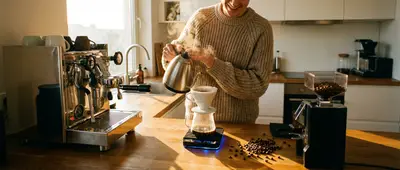
Step-by-Step: A Foolproof Pour-Over Guide (V60 Style)
This method works with most cone-style drippers (Hario V60, Origami, similar).
What You’ll Need
- Fresh whole bean coffee
- Burr grinder
- Pour-over dripper + filter
- Kettle (ideally gooseneck)
- Scale & timer
- Mug or carafe
Recipe (Single Cup)
- Coffee: 15 g
- Water: 250 g (250 ml)
- Water temp: 94°C / 201°F (just off boil)
- Grind size: Medium-fine (similar to table salt)
- Target brew time: About 2:30–3:00 minutes
Step-by-Step
Heat water & prepare dripper
- Boil your water and let it rest for 20–30 seconds. - Place the filter in the dripper and rinse with hot water to remove paper taste and preheat. Discard rinse water.
Grind your coffee
- Grind 15 g of coffee medium-fine, just before brewing. - Add grounds to the filter and gently shake to level the bed.
Bloom (0:00–0:45)
- Start your timer. - Pour ~40 g of water to saturate all the grounds. - Gently swirl or stir to ensure full wetting—this releases trapped gases and improves extraction. - Let it sit until ~45 seconds.
Main pour (0:45–2:00)
- Pour slowly in small circles, keeping the water level consistent, avoiding the filter walls. - Aim to reach 250 g of total water by around the 1:45–2:00 mark.
Drawdown (2:00–3:00)
- Let the water drip through; the bed should finish draining by around 2:30–3:00. - If it drains much faster, grind finer next time. If it’s very slow, grind coarser.
Serve & taste
- Swirl the final brew in your mug or carafe to mix layers. - Taste first without milk or sugar to understand the flavor, then adjust as desired.
Step-by-Step: French Press for Rich, Comforting Cups
French press is forgiving and perfect for those who like bold, rounded flavors.
What You’ll Need
- French press
- Burr grinder
- Kettle
- Scale & timer
- Spoon
Recipe (Standard 4-Cup Press)
- Coffee: 30 g
- Water: 500 g
- Water temp: ~94°C / 201°F
- Grind size: Coarse (like breadcrumbs)
- Brew time: 4 minutes
Step-by-Step
Preheat
- Add hot water to the French press to preheat, then discard.
Add coffee & water
- Add 30 g of coarse-ground coffee. - Start the timer and pour 500 g of hot water quickly over the grounds. - Stir gently to break the crust on top.
Steep
- Place the lid on with the plunger pulled all the way up. - Let it steep for 4 minutes.
Plunge & serve
- At 4:00, press the plunger down slowly and steadily. - Pour all the coffee out immediately into cups or another vessel to avoid over-extraction.
Adjust next time
- If it tastes flat or weak, use a bit more coffee or grind slightly finer. - If it’s harsh or bitter, grind coarser or shorten the brew time slightly.
Espresso at Home: When You’re Ready to Go Deeper
Espresso is more technical and less forgiving, but extremely rewarding once you dial it in.
Basic Espresso Parameters
- Dose: 18 g coffee (for many double baskets)
- Yield: 36–40 g espresso (a 1:2-ish ratio)
- Time: 25–30 seconds from pump start
- Grind: Very fine, slightly finer than table salt
- Water temp: Around 93–96°C / 199–205°F (machine-managed)
Dialing In (Simplified)
Set your dose
- Choose a dose your basket is designed for (often printed or specified by the manufacturer).
Pull your first shot
- If the shot runs too fast (thin, sour, watery), grind finer. - If it runs too slow (drips, overly bitter, heavy), grind coarser.
Taste & adjust
- Sour, sharp: Often under-extracted → finer grind or longer shot. - Bitter, dry: Often over-extracted → coarser grind or shorter shot.
Home espresso is an entire hobby in itself—be patient, take notes, and change one variable at a time.
How to Taste Coffee Like a Pro (Without Being Pretentious)
Developing your palate makes brewing more fun—and helps you fix what you don’t like.
1. Start With the Basics
As you sip, notice three things first:
- Acidity: Is it bright and lively like citrus, or mellow and soft like stone fruit?
- Sweetness: Do you perceive natural sweetness (caramel, honey, fruit), or does it taste flat?
- Bitterness: Is it pleasant like dark chocolate, or harsh and lingering?
2. Use Simple Flavor Words
You don’t need a huge vocabulary. Think in categories:
- Fruity (berries, citrus, stone fruit)
- Nutty/Chocolatey (almond, hazelnut, cocoa)
- Floral/Tea-like (jasmine, black tea)
- Spicy (cinnamon, clove, warming spices)
Note one or two impressions; that’s enough.
3. Compare Side-by-Side
Brew two coffees at once:
- Same brew method and recipe, but different origins.
- Taste them alternately; differences become much easier to spot.
4. Adjust Brew Based on Taste
- Too sour/underdeveloped: Try a slightly finer grind, a longer brew time, or hotter water.
- Too bitter/dry: Try a slightly coarser grind, a shorter brew time, or cooler water.
Gear Priorities: What to Buy First (and How to Upgrade)
If you’re starting from scratch, build your setup strategically.
Tier 1: Core Essentials
- Burr grinder (manual or entry electric)
- Basic brewer (V60, Kalita, AeroPress, French press, or a solid drip machine)
- Cheap digital scale
- Kettle (any type to start)
This alone will put you far ahead of typical “coffee pot + pre-ground” setups.
Tier 2: Quality-of-Life Upgrades
- Gooseneck electric kettle with temperature control
- Better grinder (especially if you move into espresso or high-precision pour-over)
- SCA-certified drip machine for effortless, consistent pots of coffee
Tier 3: For the Deep Enthusiast
- Espresso machine with stable temperature and pressure
- Dedicated espresso grinder
- Water filtration and/or mineral control system
- Distribution tools, better cups, and more specialized brewers
Conclusion
Great coffee at home boils down to a few key ideas:
- Invest first in a good grinder and fresh, well-chosen beans.
- Match your brewing method to the flavors and routines you enjoy.
- Use consistent recipes—by weight and time—so you can learn and improve.
- Taste your coffee with curiosity; each cup teaches you something.
You don’t need a café’s worth of equipment to make café-quality coffee. Start with one reliable setup, dial it in, and let each great cup nudge you a little deeper into the craft.
Sources
- [Specialty Coffee Association – Home Brewing Guidelines](https://sca.coffee/education/coffee-skills-program/brewing) – Technical standards and best practices for brewing coffee at home
- [Baratza – Burr Grinder Education](https://baratza.com/grinder-education/) – Detailed explanations of grind size, burr types, and why grinders matter
- [National Coffee Association (NCA) – How to Brew Coffee](https://www.ncausa.org/About-Coffee/How-to-Brew-Coffee) – General consumer-friendly guidance on brewing methods and coffee storage
- [Counter Culture Coffee – Brewing Guides](https://counterculturecoffee.com/learn/brewing-guides) – Practical, step-by-step brew guides for multiple methods
- [UC Davis Coffee Center](https://coffeecenter.ucdavis.edu/research) – Research-based insights into coffee chemistry, sensory science, and brewing variables
Key Takeaway
The most important thing to remember from this article is that this information can change how you think about Coffee Gear.